


[ad_1]

There’s a contingent of woodworkers who contemplate ending recipes to be sort of foolish—the argument being that even inside a given species, the colour and grain of each board is totally different, so you may’t actually count on to have the ability to duplicate the outcomes seen in photographs or on a video. Nicely, yeah. However we will use them as a place to begin. If you would like to have the ability to match an current end or also have a good match from board to board, you’re going to wish to be taught shade idea and a spectrum of dyeing and marking strategies.
Deal with these recipes such as you would one from a cookbook. Begin right here, and add a touch of garlic or amber shellac to style. In actual fact, given the truth that each board is totally different, I made a decision that it wasn’t essentially definitely worth the added expense to completely duplicate the unique supplies checklist utilized by the unique authors. As an alternative, that is my tackle their processes. The necessary half for me was seeing what every step in these recipes delivered to the celebration, and studying from the totally different variations. If I have been to complete an Arts and Crafts espresso desk, I’d most likely wind up utilizing parts of all three recipes.
What about you? Do you may have a favourite end recipe or a favourite aspect? Share under within the feedback.
Tom McLaughlin’s Arts and Crafts End
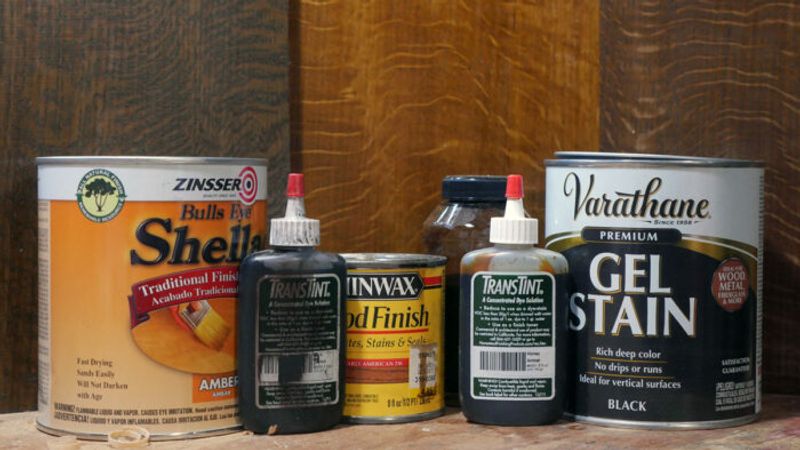
Recipe I used:
|

Nancy Hiller’s Rogue Arts and Crafts End
Recipe I used:
|
5 Steps to an Arts and Crafts End
Recipe I used:
|
[ad_2]