[ad_1]
Video
Jointing with glue-ups in thoughts is a exact enterprise. Watch how Mike Pekovich breaks it down into less complicated steps.

Aug 10, 2022
Sponsored by Grizzly Industrial

Jointing
Verify that your jointer cuts correctly earlier than you utilize it. In case of sniping or tapering, alter the outfeed desk. Along with this, you’ll need to be sure that the jointer blades are sharp. Uninteresting blades generally tend to burnish wooden, compromising glue absorption and the following energy of the joint.
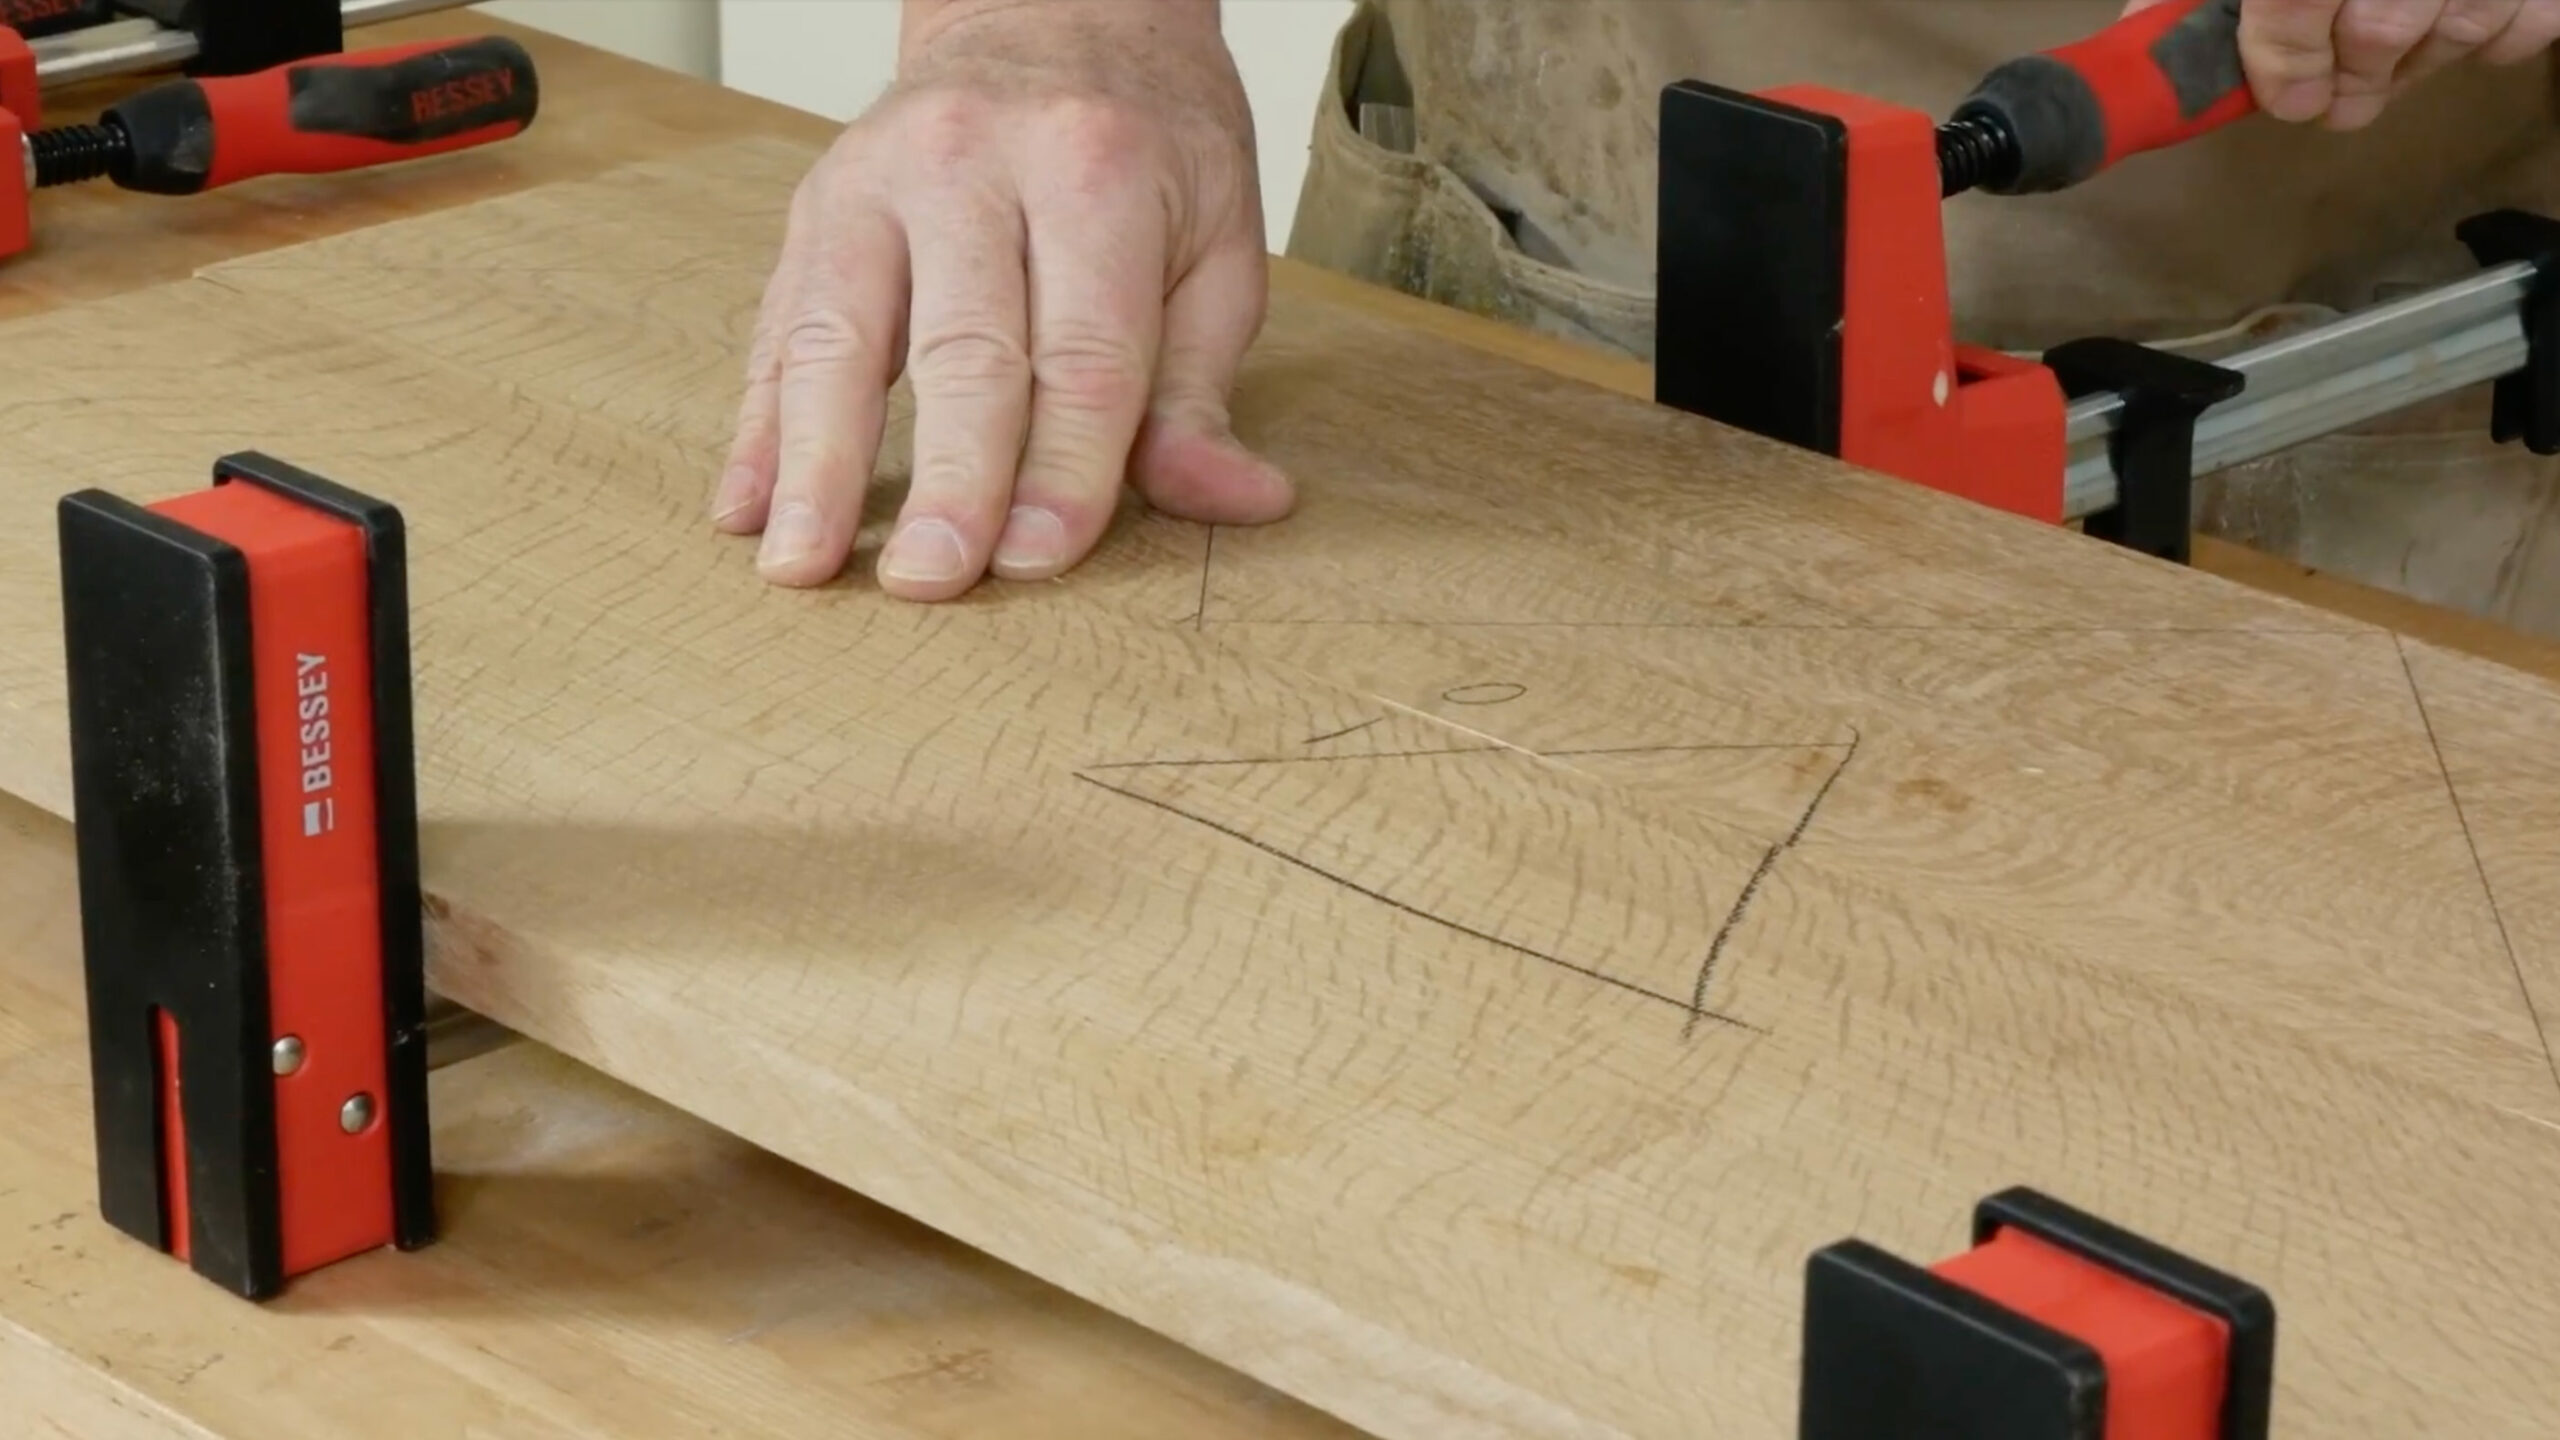
It’s not crucial, but when doable, the fence must be completely squared with the outfeed desk. Regardless of variations in methods, the geometric properties of handplaning additionally apply right here with adjoining boards. To be able to make them comply, alternate the faces that meet the jointer fence. Use chalk to assist maintain monitor of the face instructions.
First, butt two adjoining boards collectively. On one aspect of the joint line, mark the board floor with an ‘I’ to point that the face of that board should run inside, in opposition to the fence. Mark the alternative aspect of the joint line with an ‘O’ to point that it should face exterior, away from the fence. As soon as the entire adjoining boards have been respectively marked, it’s merely a matter of operating them by way of the jointer whereas ensuring the right faces of the boards meet the fence.
When the entire adjoining boards are butted after jointing, the supplemental Y angle precept ensures that the surfaces are flush and flat. This strategy is often extra dependable than operating a pair of boards folded collectively by way of the jointer.
Clamping
Now that the boards are flat, straight, marked, and organized to your satisfaction, it’s time to begin contemplating the gluing course of. Some prep is required first, beginning with ensuring the clamps have a flat and true work floor to relaxation on throughout the glue-up. An uneven or twisted work floor will lead to uneven clamp placement, and in the end an uneven tabletop. By utilizing a straightedge throughout each the size and width of your work floor, you may simply make sure that it’s flat in each instructions. Moreover, winding sticks will assist decide if the floor is twisted. Whether it is, you may normally add a shim beneath one or two legs to even out the floor.
Start laying out the clamps. Both pipe or bar clamps will work, so long as they’re straight. Spanning throughout the entire clamps with a straightedge can be really helpful. If the straightedge rocks or a spot seems between the straightedge and the pipe, substitute the offending clamps.
Gluing
Apply a bead of yellow glue alongside all the edge, then unfold the glue utilizing a stick. Subsequent, press the 2 glued edges collectively and slide the boards aspect to aspect just a little to totally unfold the glue. Maintain transferring effectively from one board to the subsequent, ensuring with every joint that the boards are sticking collectively as deliberate.
When the entire edges have been assembled, tighten the decrease clamps solely sufficient to use mild however agency stress. Verify the underside of the tabletop to ensure it’s sitting flat on the clamps. If it isn’t, a number of considered raps from the deadblow hammer ought to remedy the issue. Ranging from the center of the tabletop and dealing towards the ends, start making use of extra stress to the decrease clamps. If the ends of any boards are misaligned, briefly mount C-clamps at each ends of the tabletop, with the pads of the clamps spanning every joint. Because the metal pads solely stay there briefly, they gained’t stain the wooden.
As soon as all of the faces of the boards align, apply extra stress to the top pipe clamps, then take away the C-clamps. Subsequent, add the highest clamps. As soon as the entire prime clamps are in place, it’s only a matter of tightening them snugly. Verify once more to make sure that the tabletop is flat on the pipes and that the entire clamps are tightened– however don’t over tighten.
Invariably, the stress from the clamps goes to squeeze some glue from the joints. Enable sufficient time, normally about quarter-hour, for the glue to show rubbery. Then, utilizing a putty knife, the glue will scrape off with relative ease.
[ad_2]