[ad_1]
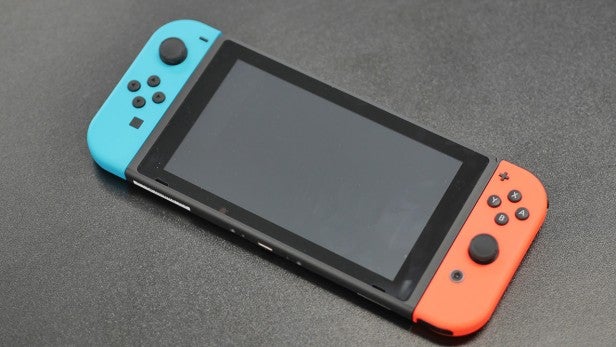
The Nintendo Swap affords the flexibility to take screenshots of a recreation, so you’ll be able to seize your beautiful motion set piece in Zelda, or somersaulting leap in Tremendous Mario Odyssey. Nevertheless, transferring these screenshots from the Nintendo Swap isn’t really easy.
Whereas Nintendo supplies the choice to ship screenshots to a wise machine (reminiscent of a smartphone) wirelessly, it’s not so apparent the right way to switch photos on to a PC.
Thankfully, there’s an out there methodology tucked away within the settings, and we’re going to information you thru the method. Preserve studying on to learn the way to ship Nintendo Swap screenshots to your laptop computer.
What you’ll want:
- Nintendo Swap
- PC with out there USB ports
- USB-C to USB-A cable or USB-C to USB-C cable
The Brief Model
- Click on System Settings on Nintendo Swap
- Scroll all the way down to Information Administration
- Click on on Handle Screenshots and Movies
- Press on Copy to PC by way of USB Connection
- Join your Swap to your PC by way of USB cable
- Open File Explorer in your Home windows PC
- Click on on This PC
- Click on on Nintendo Swap
- Click on on Album
- Choose your chosen recreation
- Find your screenshots and replica to your PC
-
Step
1Click on System Settings on Nintendo Swap
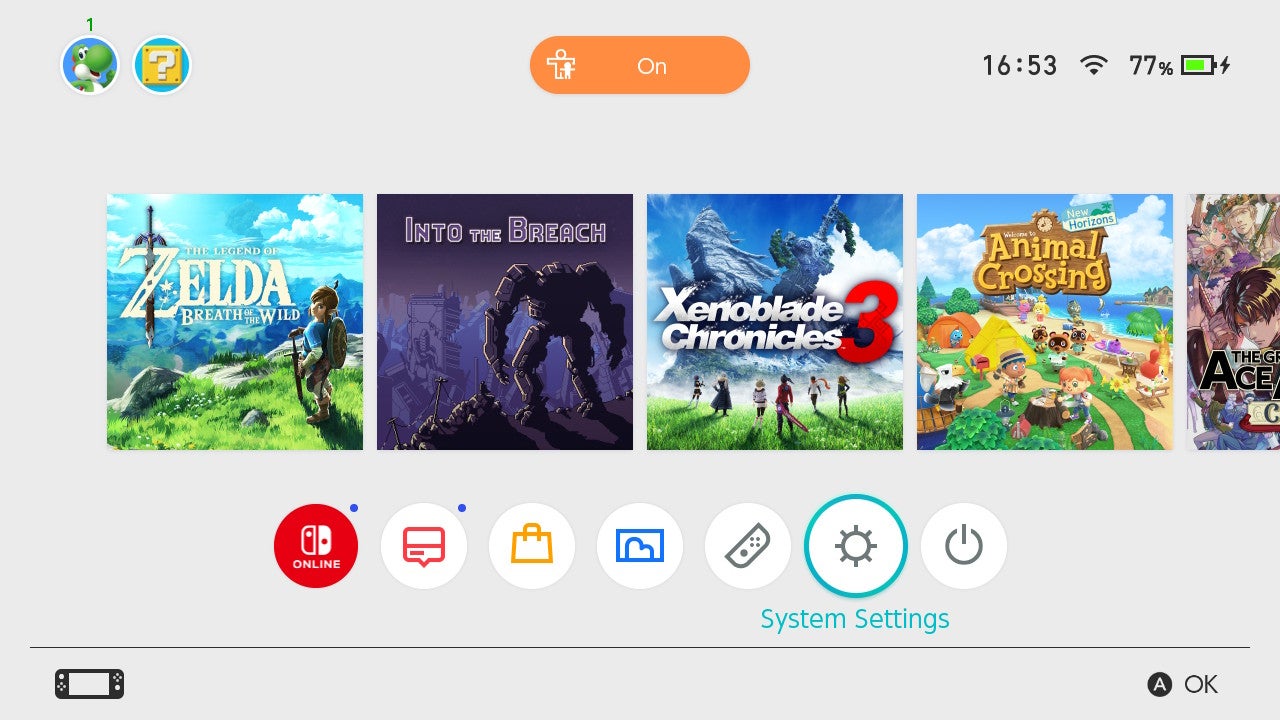
You’ll discover this within the backside row on the Nintendo Swap dwelling display. It has a cog icon, and is located to the left of Sleep Mode.
-
Step
2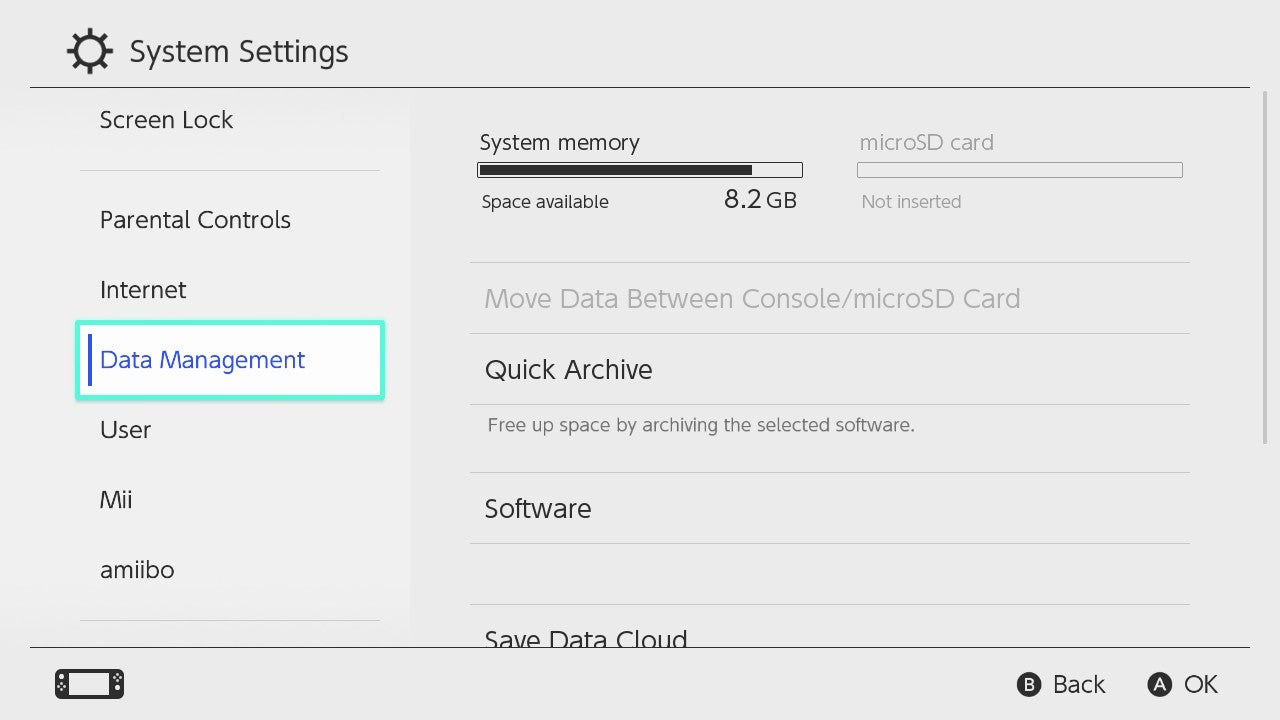
You’ll discover it six rows down, instantly beneath the Web settings.
-
Step
3Click on on Handle Screenshots and Movies
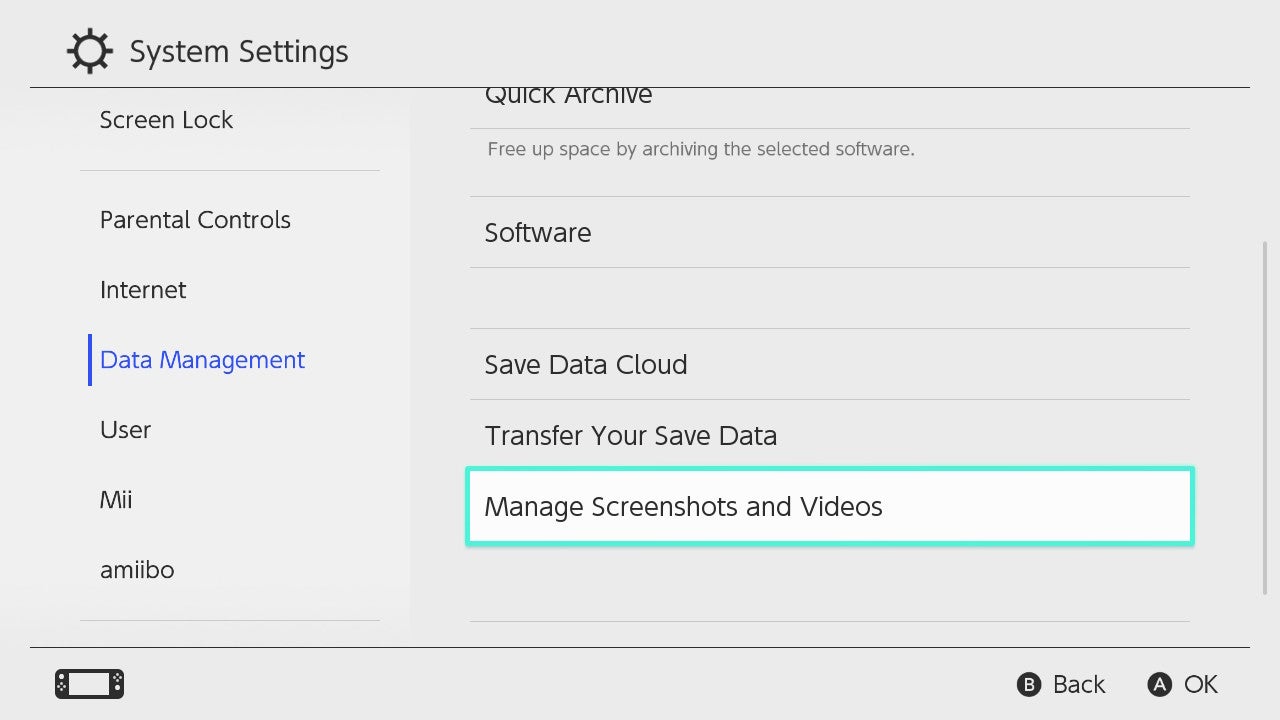
Swap over to the right-sided menu, after which scroll down till you discover Handle Screenshots and Movies. You’ll discover it proper above Delete Save Information.
-
Step
4Press on Copy to PC by way of USB Connection
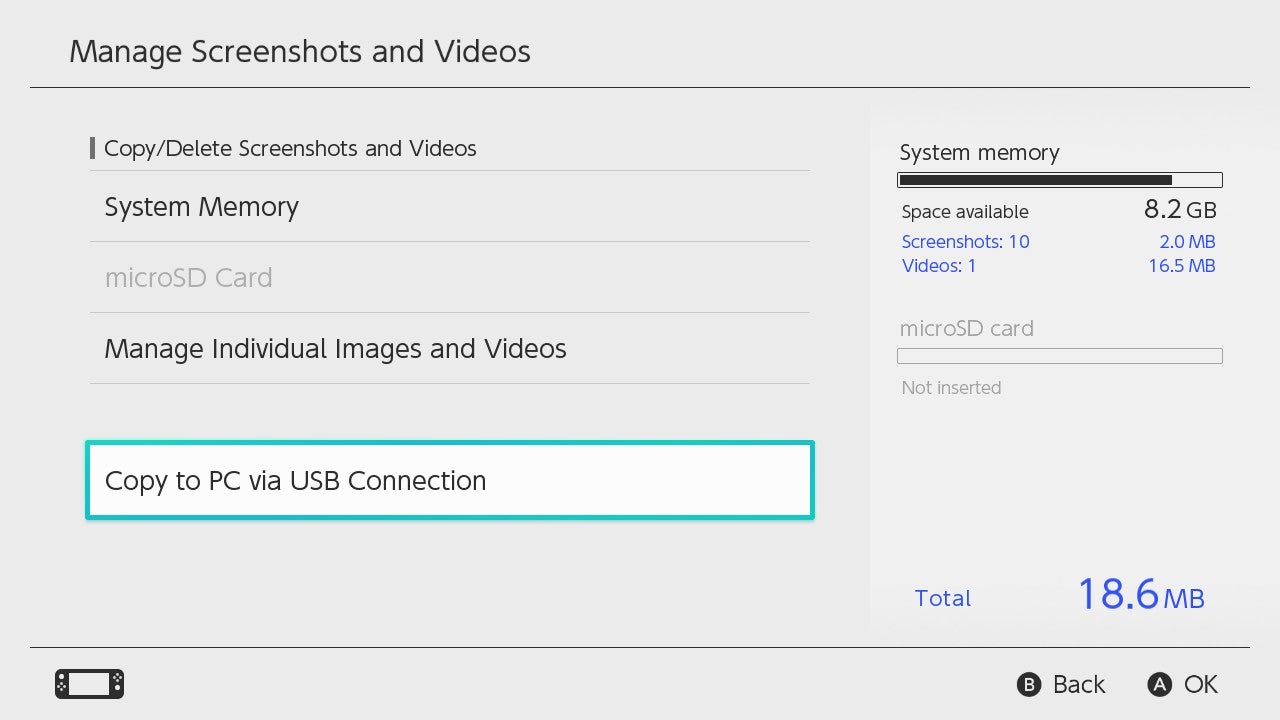
Scroll down proper to the underside, till you land on Copy to PC by way of USB Connection. Choose it.
-
Step
5Join your Swap to your PC by way of USB cable
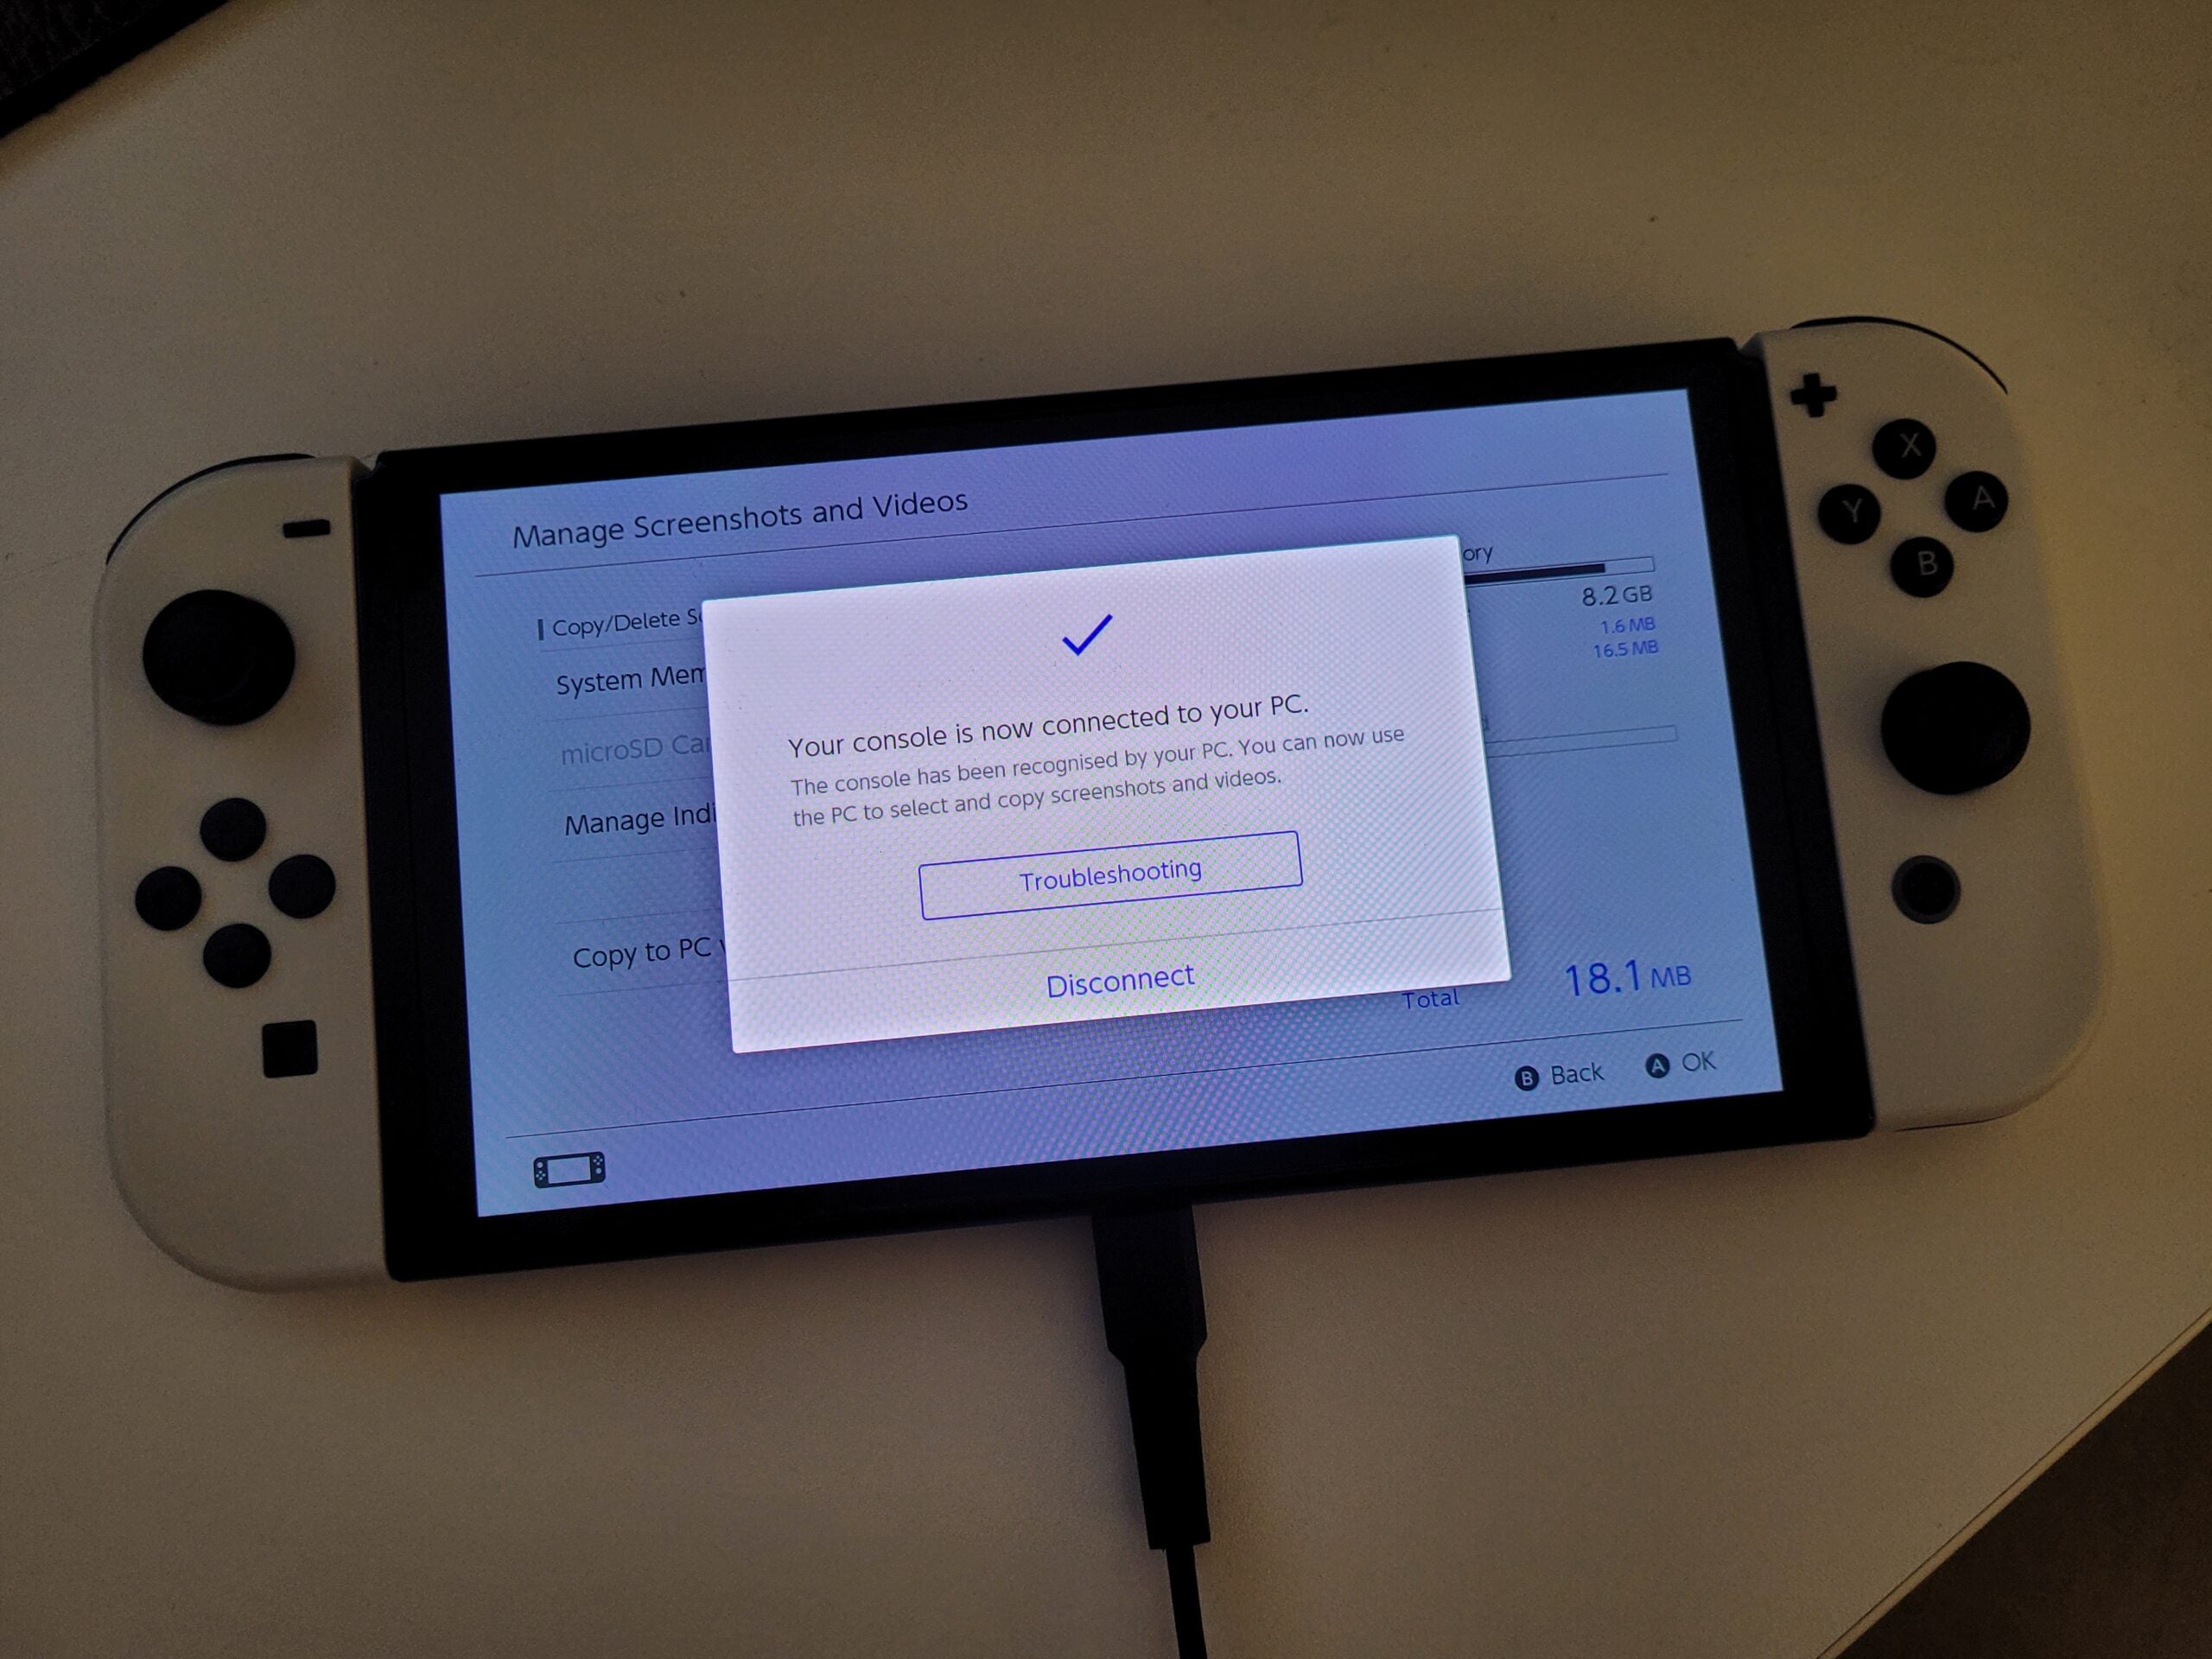
A pop-up message will then instruct you to attach your Nintendo Swap to your PC by way of USB cable.
We used a USB-C to USB-A cable, however you could want to make use of a USB-C to USB-C cable as a substitute, relying on the out there ports in your PC or laptop computer.
As soon as plugged in efficiently, you’ll see a blue tick seem in your Swap display.
-
Step
6Open File Explorer in your Home windows PC
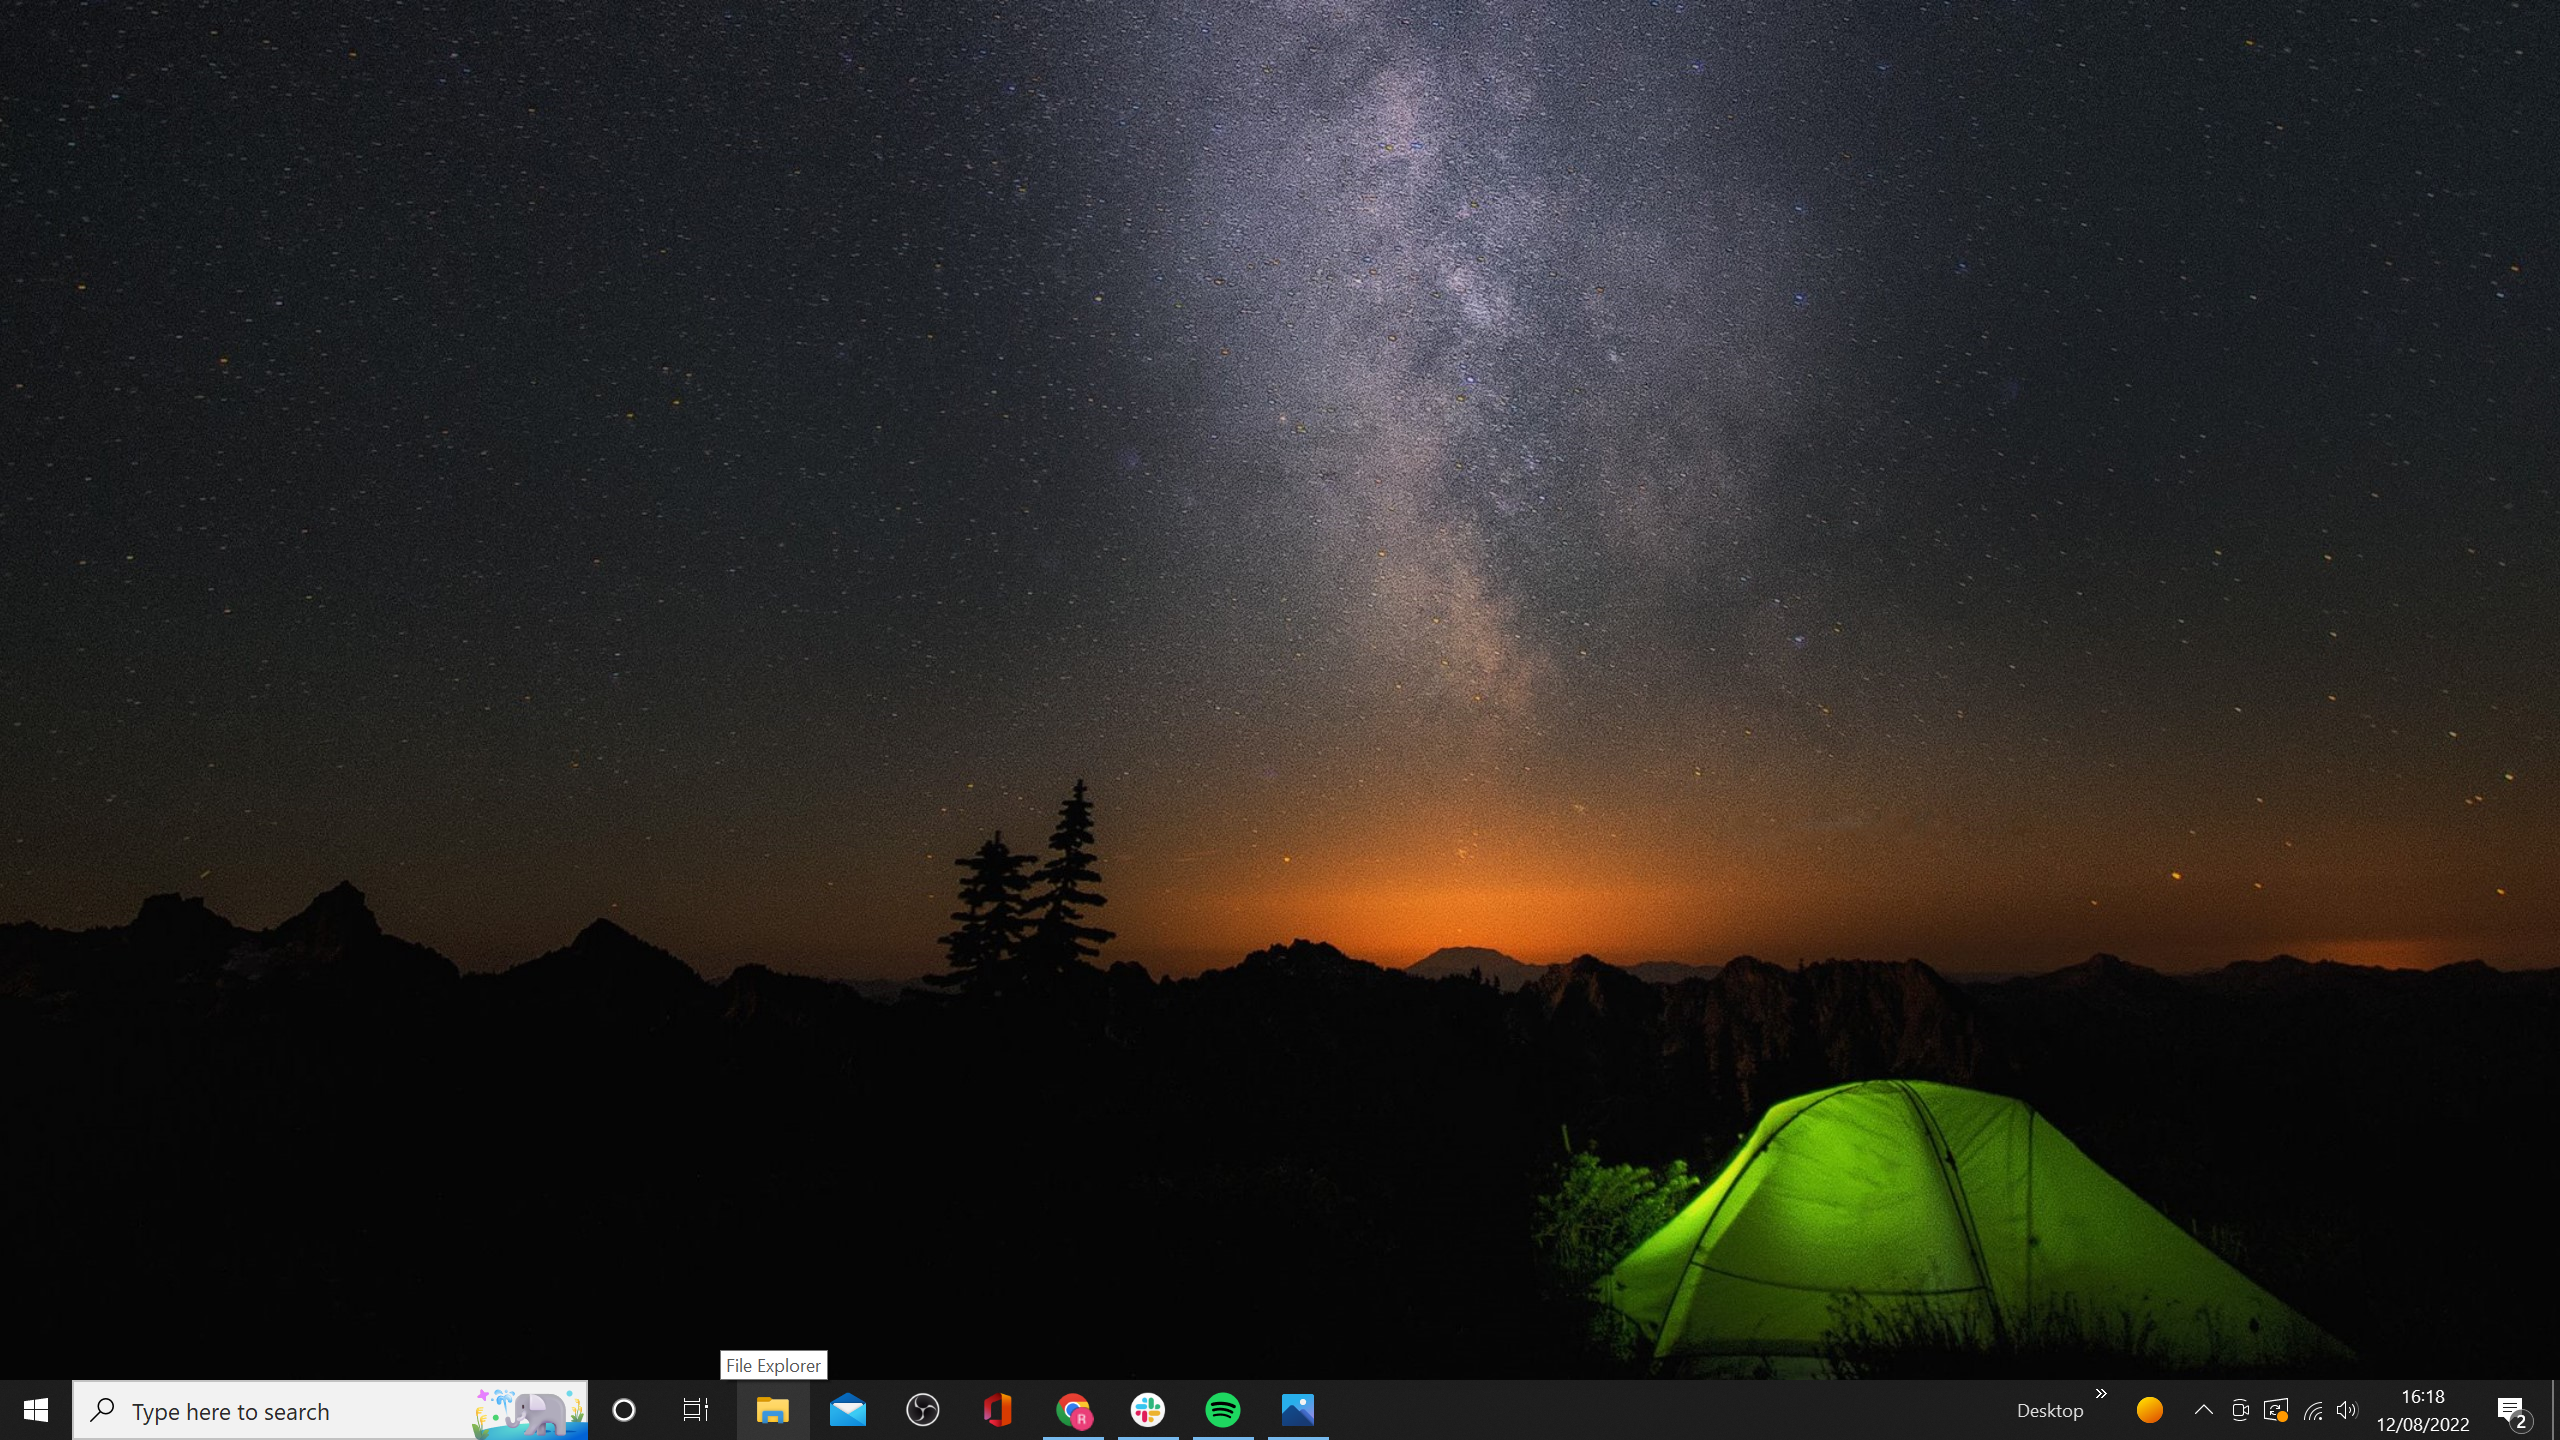
This could seem as a folder in your process bar.
-
Step
7Click on on This PC
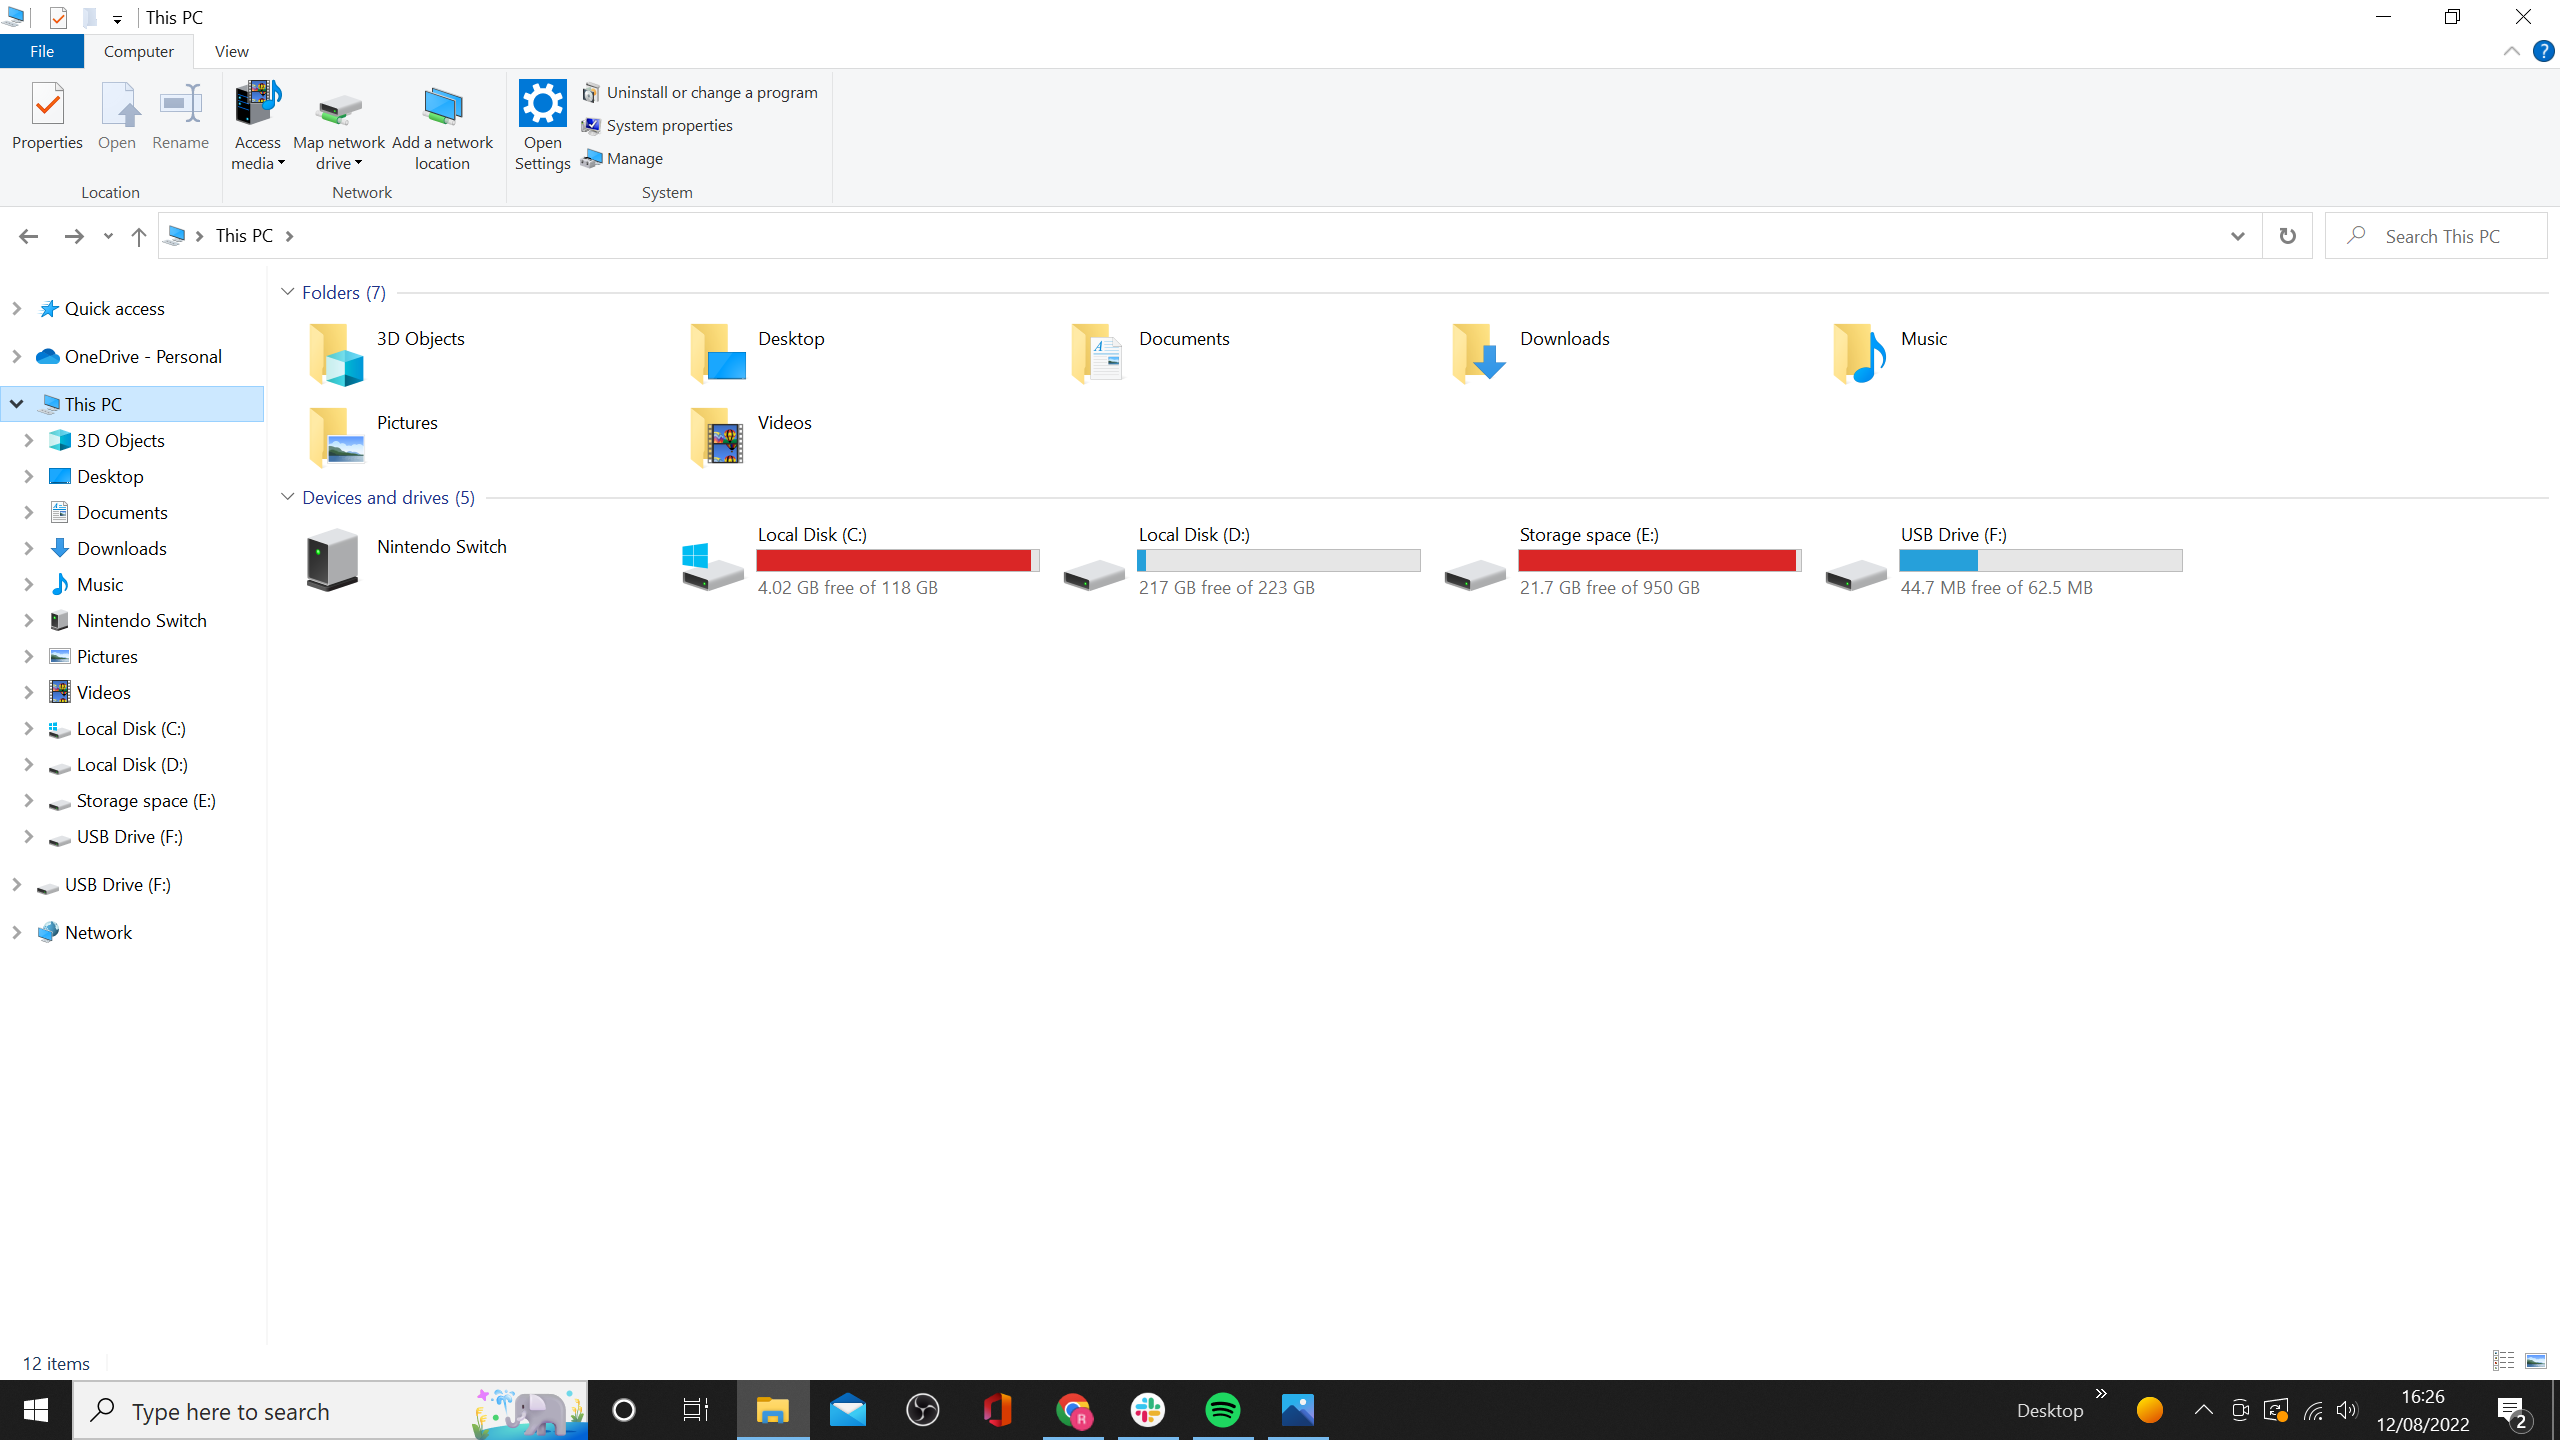
Within the left-sided menu, it’s best to see the choice for This PC. Click on it. You’ll be able to alternatively sort ‘This PC’ into the search bar proper on the high.
-
Step
8Click on on Nintendo Swap

It’s best to see the choice for Nintendo Swap, proper beneath the subheading ‘Gadgets and Drives’.
-
Step
9Click on on Album
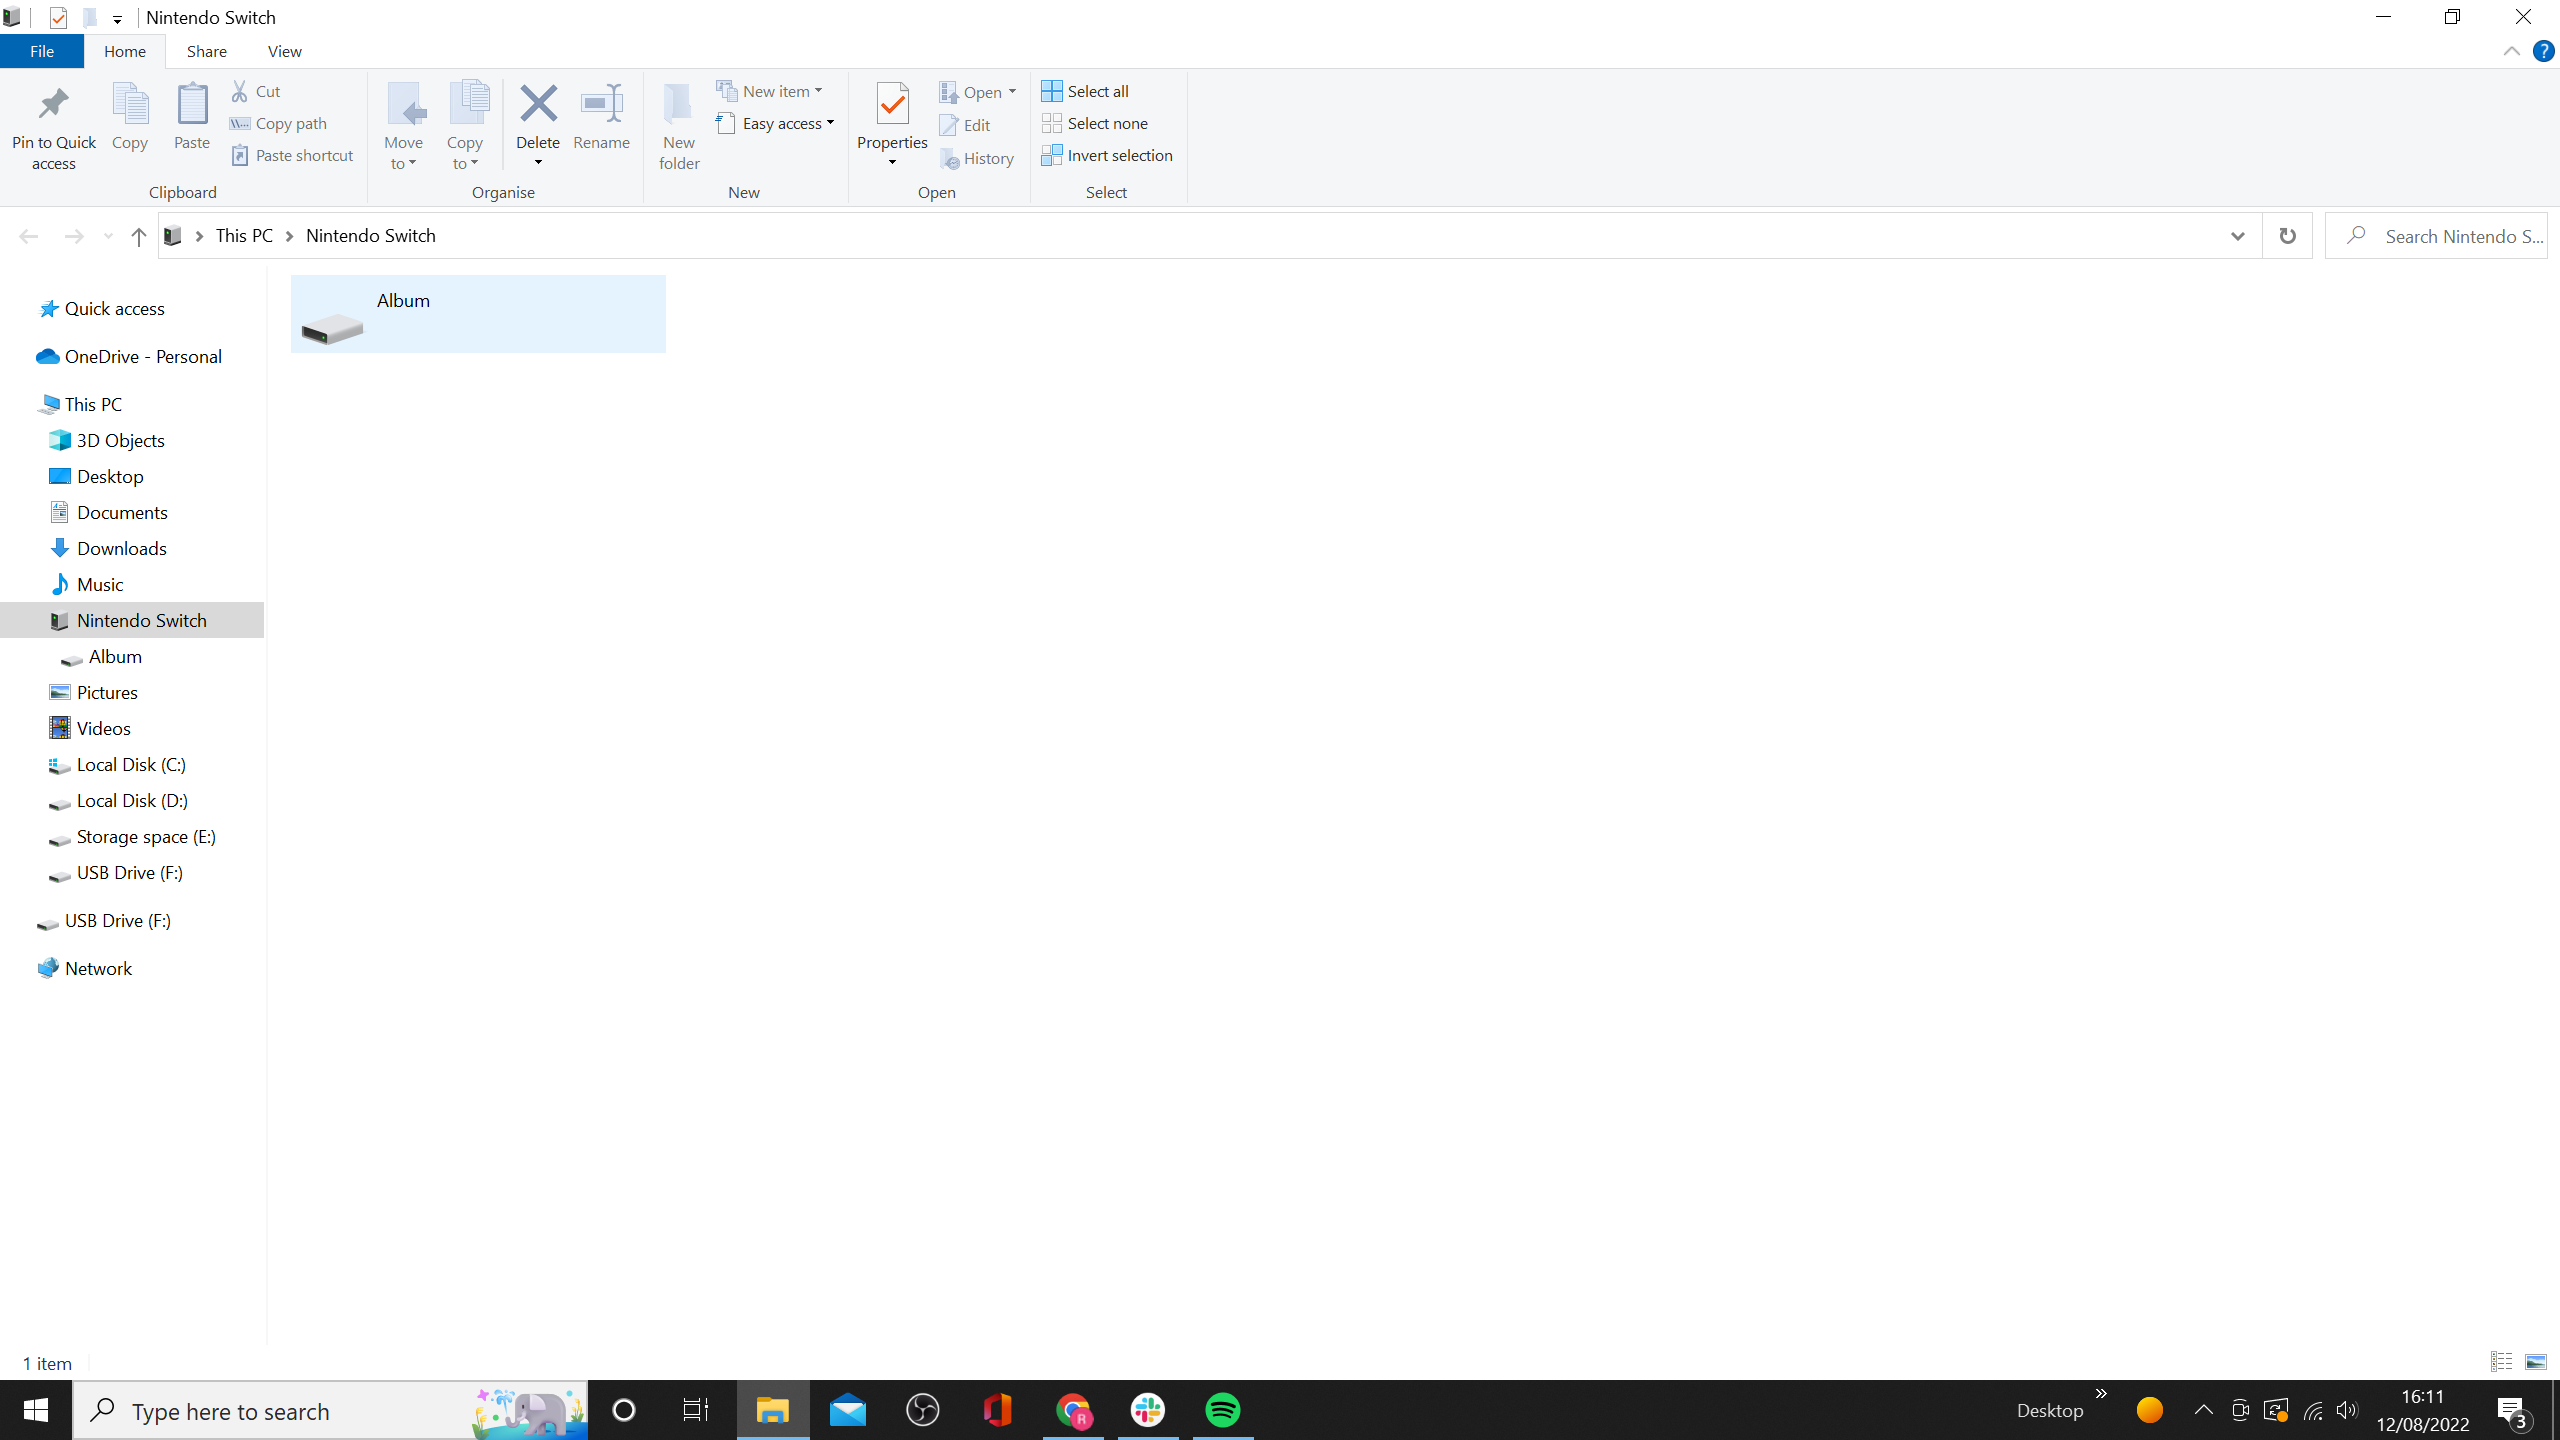
For those who’ve taken screenshots on the Swap, it’s best to see the choice for Album. Choose it.
-
Step
10Choose your chosen recreation
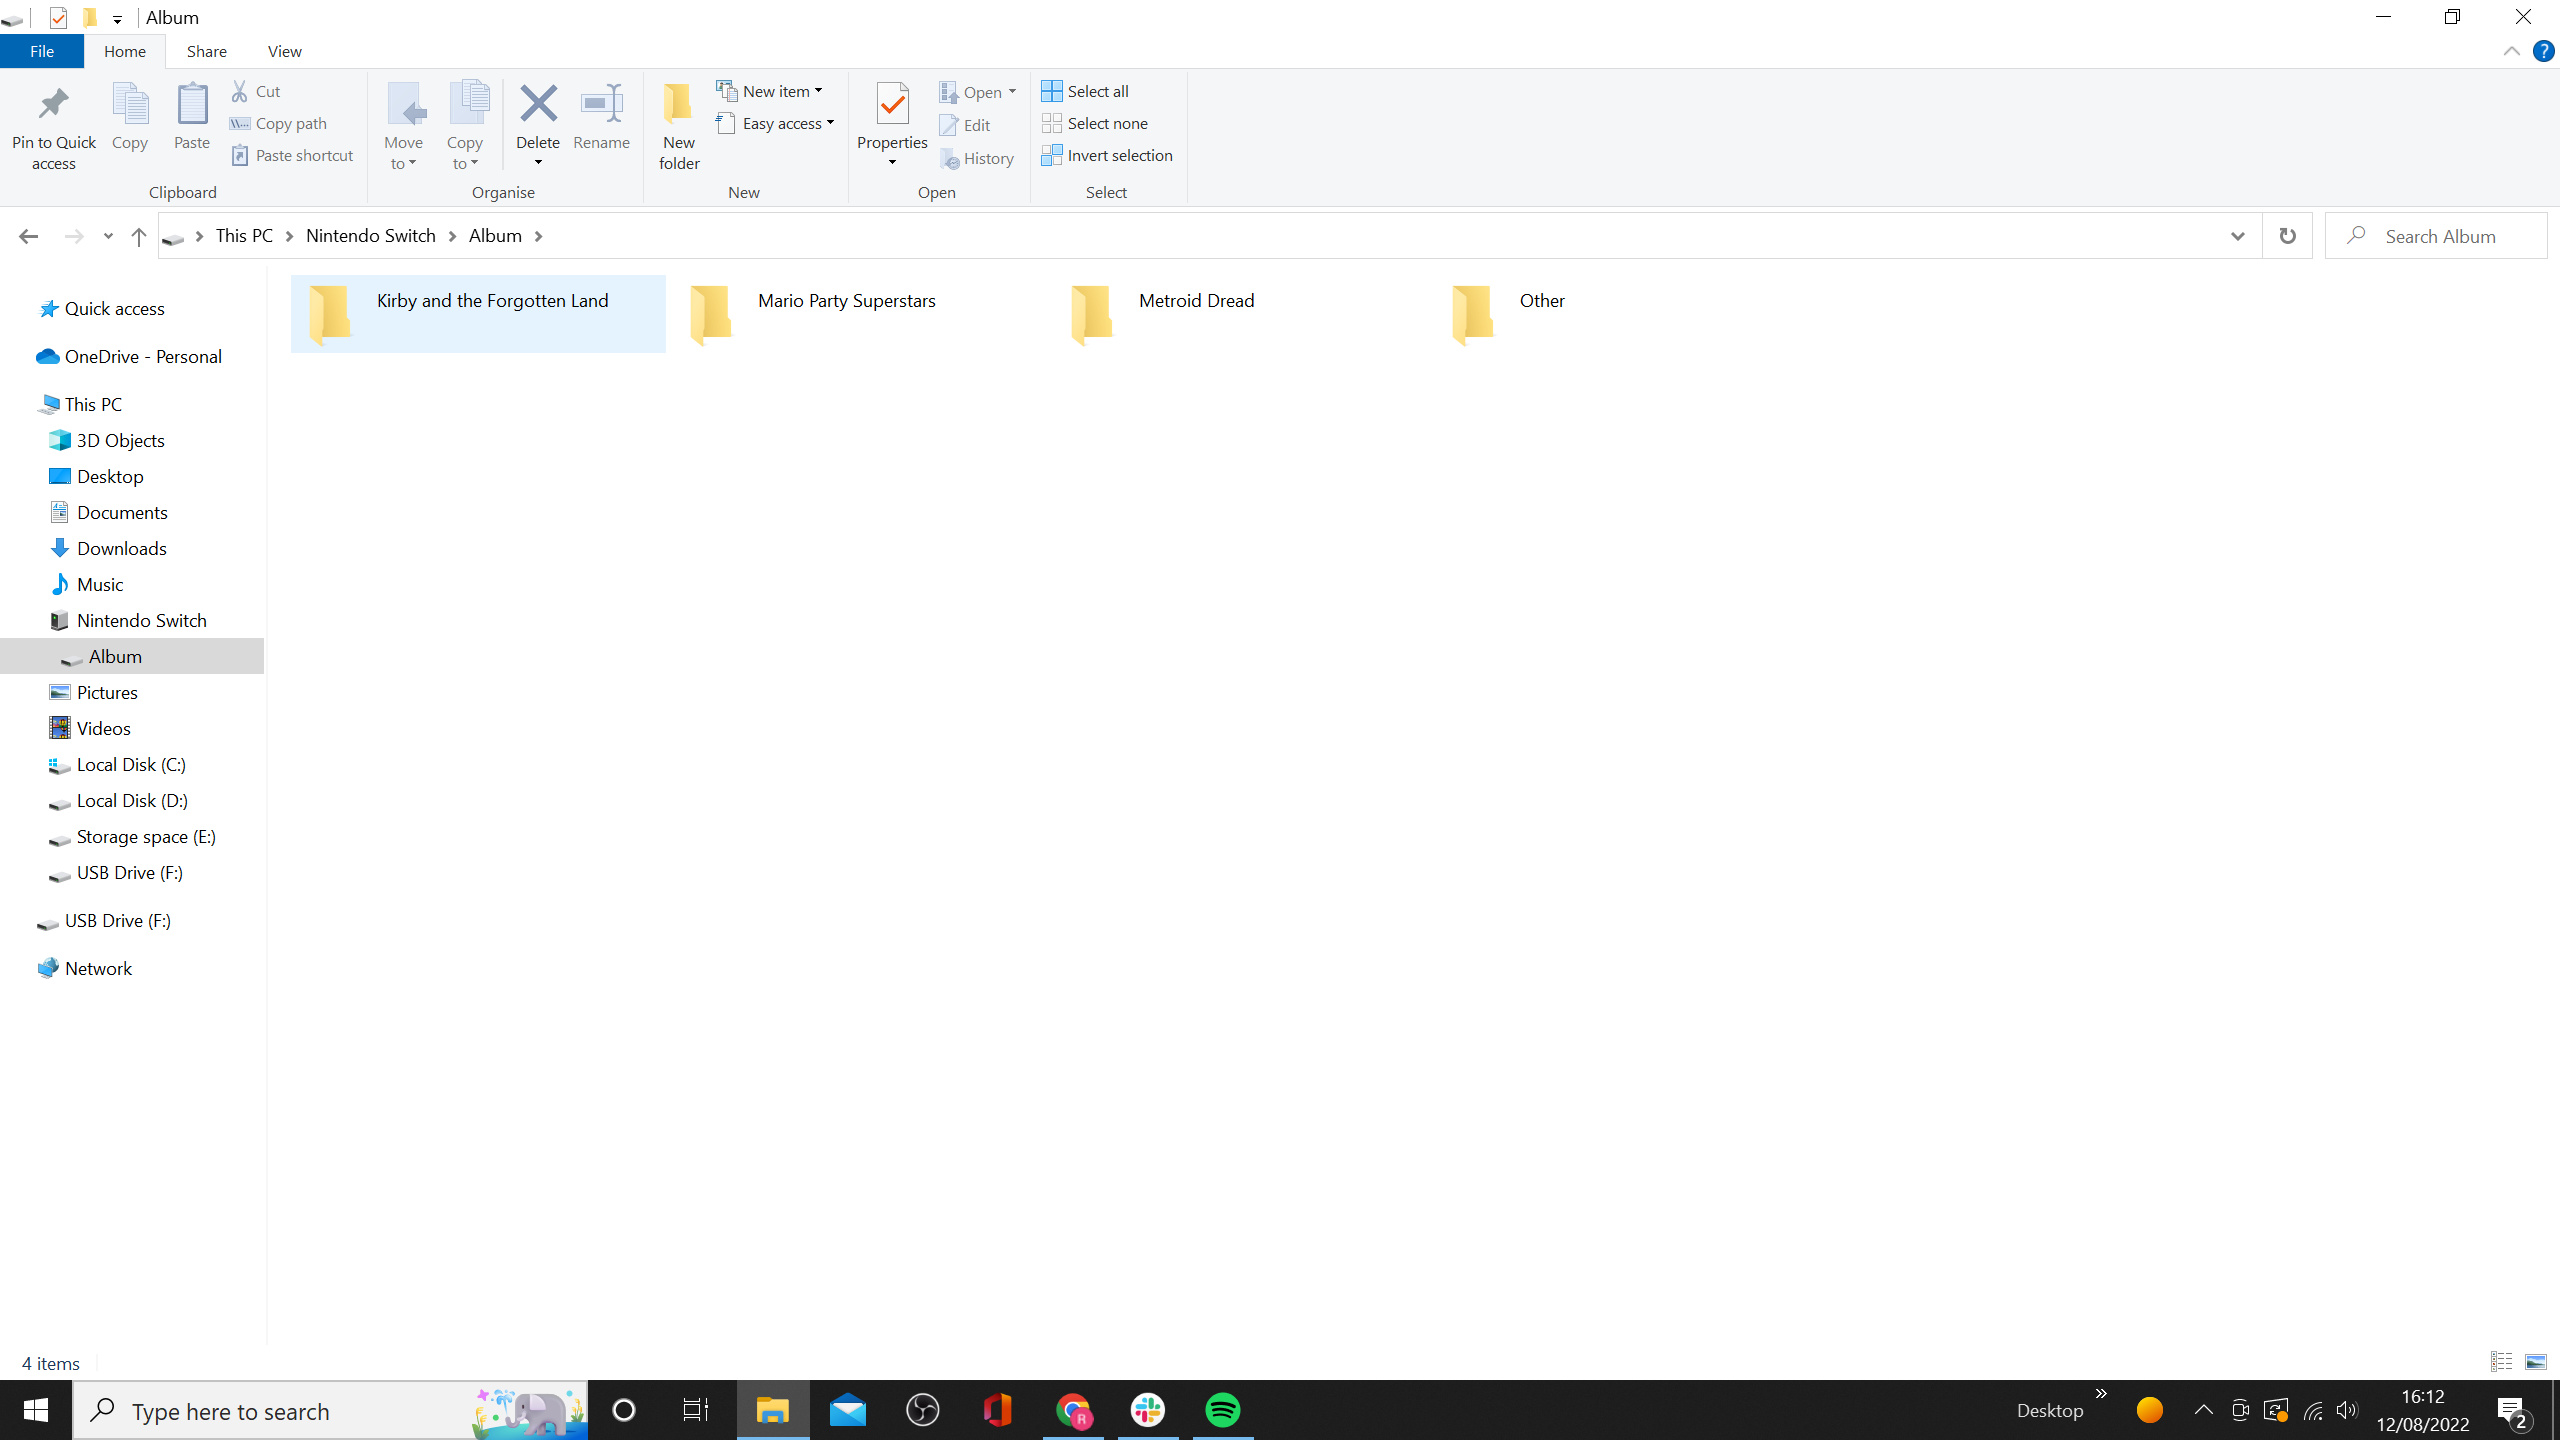
The Nintendo Swap kinds all the screenshots into folders for the video games that they have been taken in. Decide the sport you need (we picked Kirby and the Forgotten Land).
If you wish to switch a picture of the Swap’s dwelling display or settings, the screenshots must be positioned in an ‘Different’ folder.
-
Step
11Find your screenshots and replica to your PC
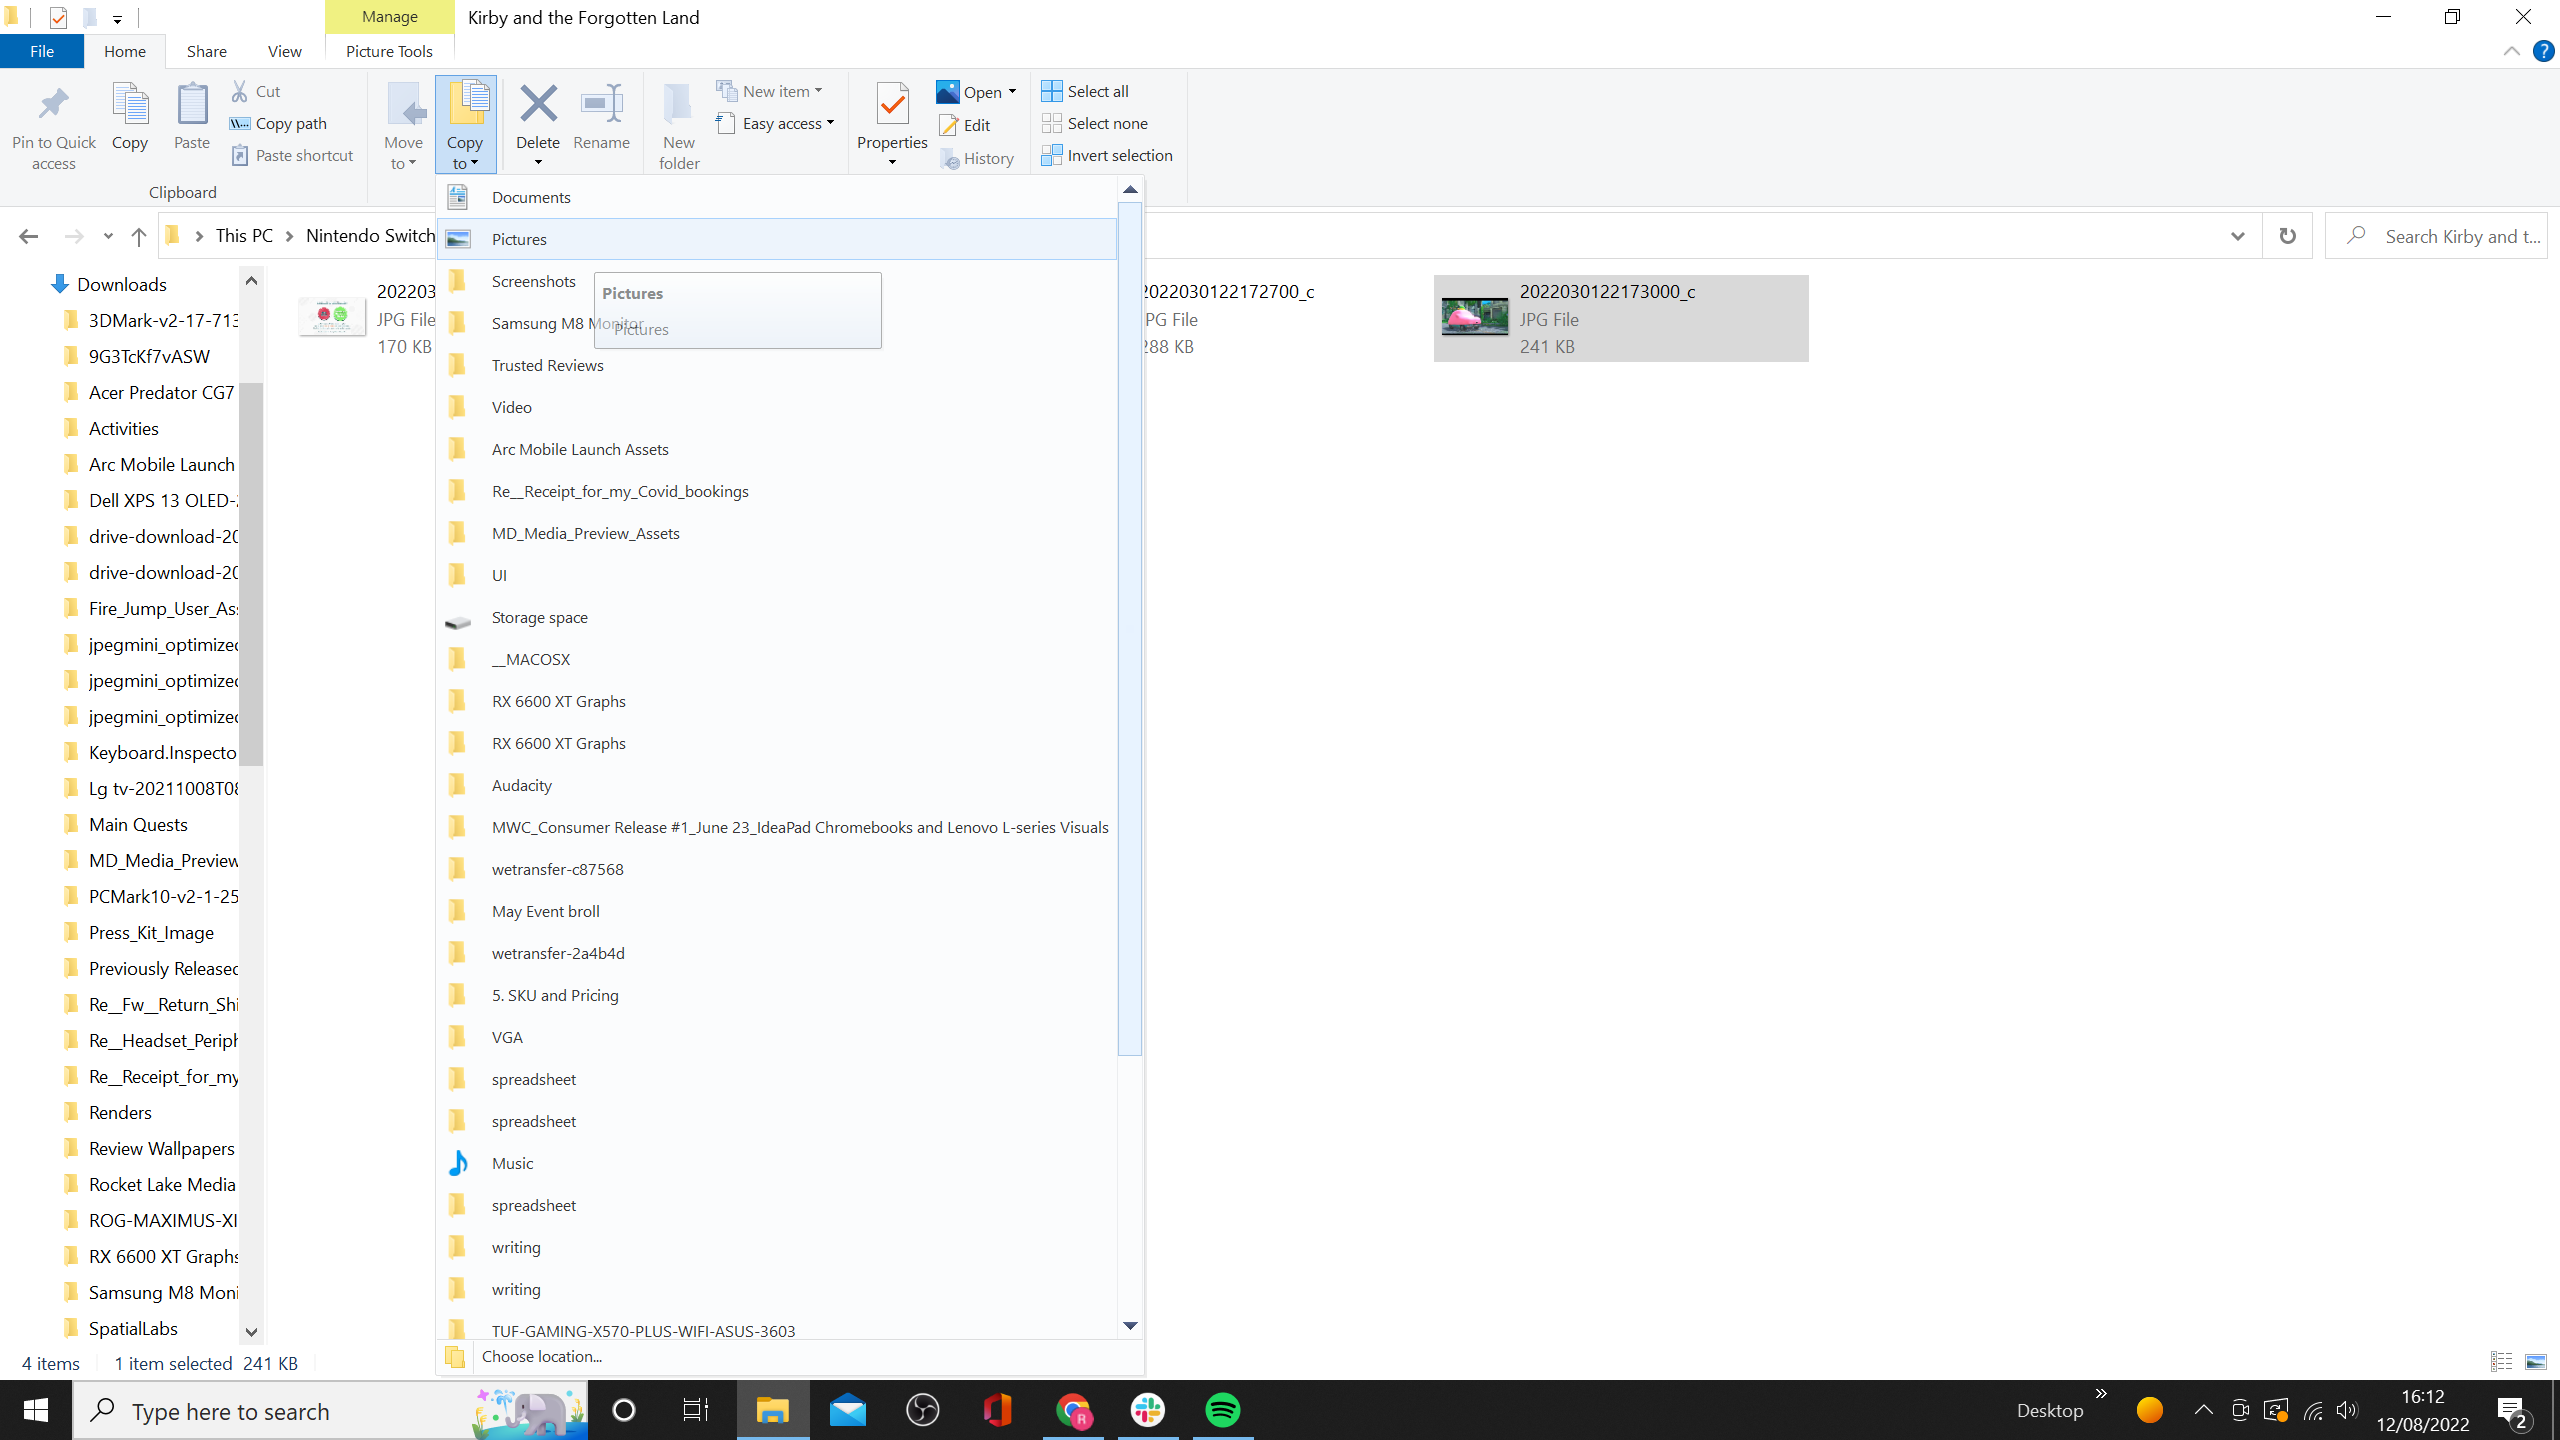
Your whole Nintendo Swap screenshots on your chosen recreation must be saved right here.
To retailer it in your PC, spotlight your chosen screenshot, press the Copy To shortcut on the highest software bar, after which decide the placement in your PC you need it to be saved. You may as well drag and drop the picture to your required location in the event you desire. As soon as that’s carried out, you’ll be able to disconnect your Swap.
Troubleshooting
Sure you’ll be able to. Be certain that the screenshots are saved on the microSD card, after which you’ll be able to take it out of the Swap and plug it into your PC to switch over the recordsdata. Within the seemingly case that your PC doesn’t have a microSD card reader, you’ll must buy an adaptor. Consequently, we predict the above methodology is healthier for many.
Sure, and it’s arguably a neater course of. On the Swap, go Album > click on screenshot > press the A button > Ship to Good System > Ship Individually.
The you need to use the QR code to wirelessly join your cellphone, and switch over the photographs. Each your Swap and cellphone will have to be related to the identical Wi-Fi community.
You may like…
[ad_2]